
Need Installation?
Book a licensed install
Book a licensed EV charger install

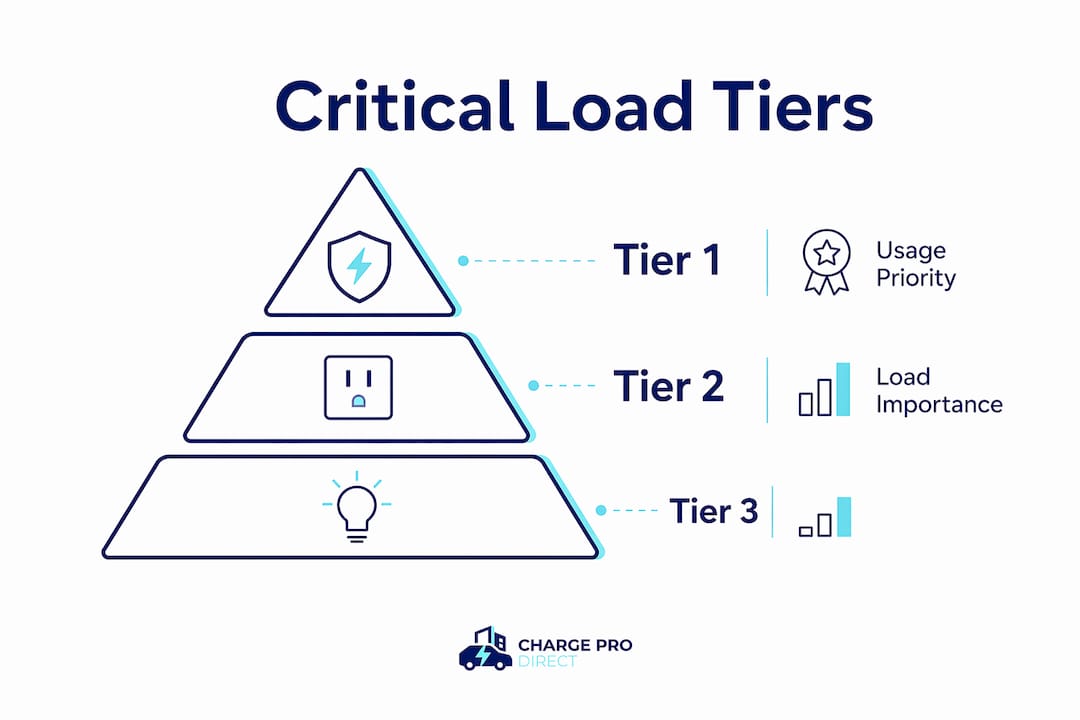
Home backup power critical load selection is the process of identifying and ranking the circuits and appliances that must stay powered during an outage to protect your safety, health, and essential home functions. Get this wrong, and your battery runs out powering the TV while your refrigerator and medical equipment go dark. Get it right, and a modest 10–20 kWh system can keep critical loads running for one to three days. Industry standards like NFPA 110 and IEEE 1547 classify home loads into tiers: life-safety, essential, and comfort. That tiered framework is the foundation of every reliable backup power plan.
The single most useful question in load classification is this: “What happens if this device is unavailable for 24 hours?” That question forces you to think about consequence, not convenience. A sump pump failure during a storm flood is a consequence. A dark living room is an inconvenience. Prioritizing by consequence rather than habit is the defining difference between a backup system that works and one that fails you when it matters most.
Tier 1 loads cover life-safety and cannot be shed under any condition. These include:
Tier 2 loads are essential but can tolerate brief interruptions. They include:
Tier 3 loads are comfort items. Televisions, dishwashers, washing machines, and secondary lighting all fall here. These get shed first when battery state-of-charge drops.
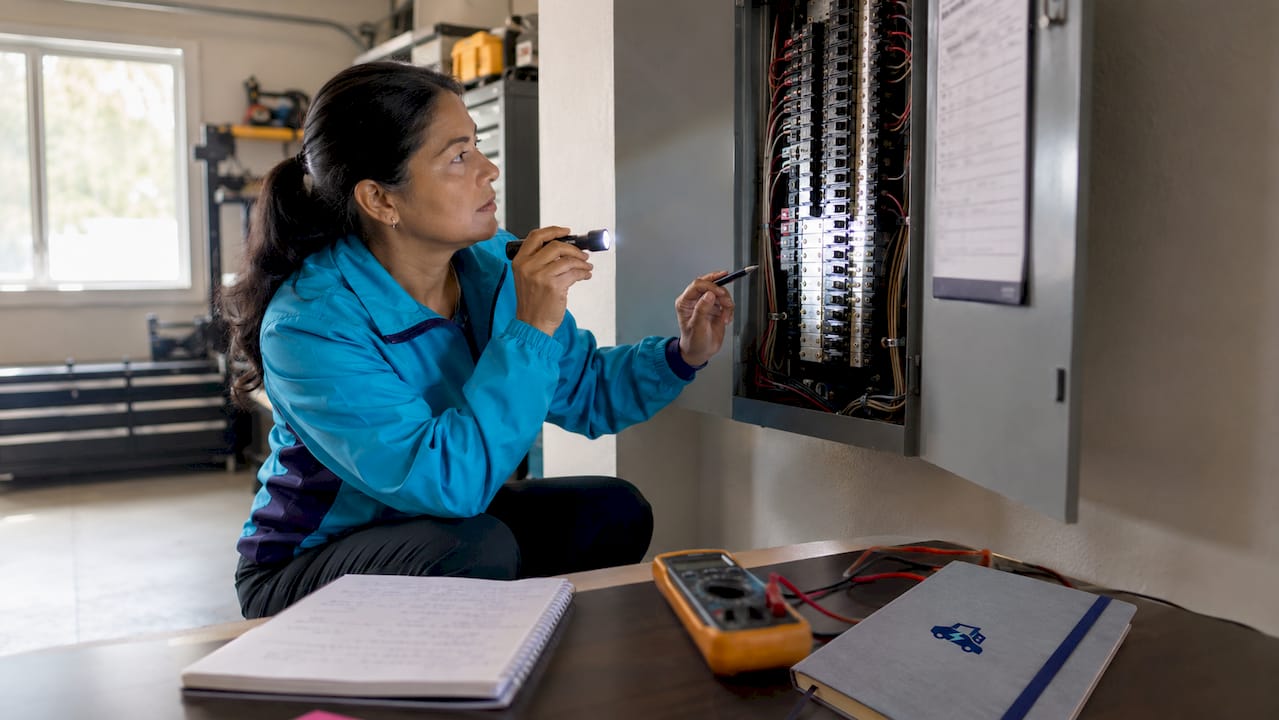
Walk through your home circuit by circuit and assign each one a tier. Your main electrical panel’s circuit directory is the starting point. Label each breaker by tier, not by room name. A bedroom circuit might power a CPAP machine (Tier 1) and a ceiling fan (Tier 3). Knowing the difference lets you make smart decisions about which circuits feed your critical load subpanel.
Pro Tip: Write down what each circuit actually powers before you label it. Homeowners routinely discover that a single breaker feeds both a medical device and a decorative outlet. That circuit needs to be split before it can be properly tiered.
One more distinction matters here: continuous power versus surge power. A refrigerator compressor draws roughly 150–200 watts continuously but surges to 600–800 watts at startup. Your backup system must handle both numbers. Nameplate wattage alone does not tell the full story.
Sizing your backup system starts with a critical load worksheet. List every Tier 1 and Tier 2 device, its running wattage, and its daily hours of use. Multiply those two numbers to get watt-hours per day, then divide by 1,000 to convert to kilowatt-hours (kWh).
Here is a sample worksheet for a typical household:
| Appliance | Running Watts | Daily Hours | Daily kWh |
|---|---|---|---|
| Refrigerator (duty cycle 33%) | 150 | 8 | 0.4 |
| CPAP machine | 30 | 8 | 0.24 |
| LED lighting (6 bulbs) | 60 | 5 | 0.3 |
| Internet router | 15 | 24 | 0.36 |
| Sump pump (intermittent) | 500 | 0.5 | 0.25 |
| Total | 1.55 kWh/day |
That 1.55 kWh figure is your net daily energy target for Tier 1 loads only. Add Tier 2 loads and you typically land in the 5–10 kWh per day range for essential home backup. That range is why a 16 kWh battery like the LG 16H Prime covers most households for one to two days without solar recharging.
Two adjustments are critical before you finalize your battery size. First, account for depth of discharge (DoD). Lithium iron phosphate (LFP) batteries typically allow 80–90% DoD, meaning a 16 kWh battery delivers roughly 13–14 kWh of usable energy. Second, account for round-trip efficiency, which runs around 90–95% for LFP chemistry. Divide your daily kWh target by the usable capacity to find how many days of autonomy you get.
Refrigerators are a common oversizing trap. Duty cycles often run at 33% or less, meaning the compressor runs about one-third of the time. Using the nameplate wattage for a full 24 hours inflates your battery requirement by a factor of three for that appliance alone. Real-world measurements with a plug-in energy monitor give you far more accurate numbers than spec sheets.
Pro Tip: Borrow or buy a Kill A Watt meter and measure your refrigerator’s actual daily consumption for 48 hours before you size your battery. Most homeowners find it uses 40–60% less energy than the nameplate suggests.
Inverter sizing follows a separate calculation. Your inverter’s continuous rating must exceed the sum of all simultaneously running Tier 1 and Tier 2 loads. Its surge rating must exceed the highest single motor start load, typically the sump pump or refrigerator compressor. Battery capacity should match real load cycles, not peak wattage alone, and your inverter surge capacity must be matched to the highest motor start load to avoid nuisance trips.
Load shedding is the practice of automatically or manually disconnecting lower-priority circuits when your battery drops below a set threshold. Done well, it extends runtime without requiring a larger battery. Done poorly or not at all, it lets comfort loads drain the battery before your sump pump gets its turn.
Here is a practical load shedding sequence for a prolonged outage:
Automated load shedding via smart panels reduces human error and prevents inverter shutdown by shedding loads when battery SOC drops or inverter load approaches its limit. Manual shedding requires someone to be awake, alert, and present during an outage at 3:00 AM. Automation removes that dependency entirely.
Coordinated load management models reduce energy not supplied by up to 63% while maintaining 95% supply to life-critical loads during outages. That is not a marginal improvement. It is the difference between a system that lasts two days and one that fails in twelve hours. Smart load panels with programmable circuit priorities deliver this level of control without requiring manual intervention.
The physical equipment in a critical load backup system has four main components: the critical load subpanel, the inverter, the transfer switch, and the battery bank. Each one has a specific job, and sizing any one of them incorrectly creates a bottleneck.
A critical load subpanel is a secondary panel fed by your battery system. It contains only the circuits you have designated as Tier 1 and Tier 2. The rest of your home stays on grid power and goes dark during an outage. Tailored critical-load panels provide safety and reliability cost-effectively, while whole-home backup adds convenience at significantly higher cost and energy capacity requirements. For most homeowners, a critical load subpanel is the right starting point. You can always expand later.
Hybrid inverters with UPS mode are the standard choice for critical load panels. They switch from grid to battery in milliseconds, which prevents sensitive electronics and medical devices from resetting. Transfer switches must respond within 100 ms to avoid resetting clocks and disrupting sensitive equipment. Static transfer switches serve medical-grade loads that cannot tolerate even brief interruptions. The Growatt SYN 200-XH-US is a 200A automatic transfer switch built for whole-home backup, with generator-ready compatibility for extended outage scenarios.
LFP (lithium iron phosphate) chemistry is the preferred choice for home backup. It tolerates deep discharge cycles, operates safely at a wide range of temperatures, and carries a longer cycle life than other lithium chemistries. For homeowners who need more capacity, the Sol-Ark 15K bundle with 32 kWh covers whole-home or expanded critical load applications with a proven inverter and battery pairing.
Most backup system failures trace back to three mistakes: oversizing based on nameplate demand, ignoring inverter surge capacity, and skipping regular testing. All three are avoidable.
Pro Tip: Set a calendar reminder to run a 30-minute backup test every six months. Discharge the battery to 50% SOC with your Tier 1 loads running, then recharge. This confirms your battery holds capacity and your transfer switch responds correctly.
A sizing guide for battery backup can help you cross-check your worksheet calculations against real-world system performance before you commit to a purchase.
Consequence-based load prioritization, accurate duty-cycle calculations, and automated shedding are the three factors that determine whether a home backup system actually works during an outage.
| Point | Details |
|---|---|
| Classify loads by consequence | Assign every circuit to Tier 1, 2, or 3 based on what fails if it loses power for 24 hours. |
| Use real duty cycles | Measure actual appliance consumption; nameplate wattage overstates battery needs by up to 3x for cycling loads. |
| Size for 10–20 kWh | Most critical load systems need 10–20 kWh for 1–3 days of autonomy without solar recharging. |
| Automate load shedding | Smart panels reduce human error and can cut energy not supplied by up to 63% during extended outages. |
| Test before you need it | Run a discharge test every six months to confirm real runtime and catch transfer switch or battery issues early. |
A common pattern is homeowners designing their backup system around what they want to keep running, not what they need to keep running. A whole-home backup sounds appealing until you realize that powering your washer and dryer during a two-day outage drains a 16 kWh battery in hours. Then the CPAP machine goes offline at midnight.
The critical load subpanel approach consistently outperforms whole-home backup for reliability in real outage conditions. It forces you to make the hard decisions before the outage happens, not during it. That pre-planning is where the real resilience comes from.
Many homeowners also skip the duty-cycle math and just add up nameplate watts. They end up buying twice the battery they need, spending thousands more than necessary. A Kill A Watt meter costs about $25 and pays for itself immediately by right-sizing your system.
Start small. Get your Tier 1 loads covered first. Add Tier 2 capacity as your budget allows. A system that reliably powers your medical equipment, sump pump, and refrigerator for two days is worth far more than a system that tries to power everything and fails in eight hours.
Selecting the right hardware is the final step after you have completed your load worksheet and tiered your circuits. Chargeprodirect carries battery, inverter, and transfer switch options that fit a range of load profiles.
The LG 16H Prime 16 kWh battery covers most critical load subpanel setups for one to two days of autonomy. For seamless grid-to-battery switching, the Growatt SYN 200-XH-US automatic transfer switch handles up to 200A and works with generators for extended outages. Homeowners with larger essential appliance loads or whole-home goals can explore the Sol-Ark 15K bundle with 32 kWh of storage. Flexible payment plans are available at checkout.
A critical load is any circuit or appliance that must stay powered during an outage to protect health, safety, or essential home functions. Examples include medical equipment, sump pumps, refrigerators, and communications devices.
Most critical load systems need 10–20 kWh for one to three days of autonomy. Whole-home backup for 24 hours requires roughly 30 kWh based on NREL’s 2024 residential storage research.
Load shedding is the automatic or manual disconnection of lower-priority circuits when battery state-of-charge drops. Automated shedding can reduce energy not supplied by up to 63% while keeping life-critical loads at 95% availability.
A critical load subpanel is more cost-effective and reliable for most homeowners. Whole-home backup adds convenience but requires significantly more battery capacity and higher upfront cost.
Test your system every six months by running a discharge cycle with Tier 1 loads only. Regular testing confirms real runtime, validates transfer switch response, and catches battery degradation before an actual outage occurs.