
Need Installation?
Book a licensed install
Book a licensed EV charger install

An off-grid solar system setup converts sunlight into stored electricity that powers your home without any connection to the utility grid. The full process follows a precise sequence: calculate your energy load, size your components, wire everything in the correct order, and verify safe operation. Skip a step or reverse the order, and you risk damaging expensive equipment or losing power when you need it most. This guide walks you through every off-grid solar system setup step so you can build a reliable, cost-saving system with confidence.
Accurate load calculation is the single most important step in planning an off-grid solar system. Underestimating your load leads to a system that runs out of power on cloudy days or during high-demand periods. Get this number right, and every other component falls into place.
Start by listing every electrical device you plan to run. For each one, record its wattage and the number of hours you use it daily. Multiply those two numbers to get watt-hours per device. Add them all together for your total daily energy demand.
Here is a simple example of what that list looks like:
That example totals 2,840 Wh, or roughly 2.84 kWh per day. A real home will have more devices, so your number will likely be higher.
Next, separate critical loads (refrigerator, medical equipment, lighting) from discretionary loads (entertainment systems, power tools). Critical loads must run every day. Discretionary loads can be reduced or shifted to sunny periods.
Peak sun hours matter as much as your load total. Most US regions receive 4–6 peak sun hours daily, but your worst month, often december or january, may drop to 3–4 hours. Size your system for that worst month, not the annual average. A system sized for summer will leave you short in winter.
Pro Tip: Add 20–25% to your calculated daily load before sizing components. This buffer accounts for system losses, aging panels, and the occasional high-demand day.
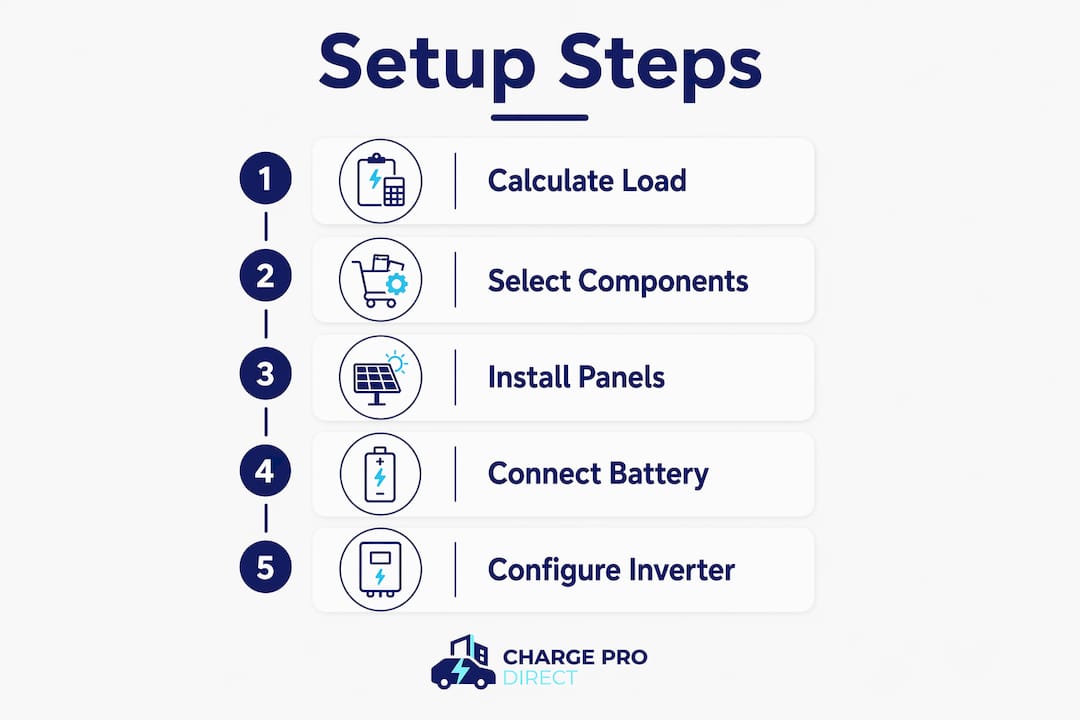
Every off-grid system shares the same core components. Understanding each one’s role helps you buy the right size the first time.
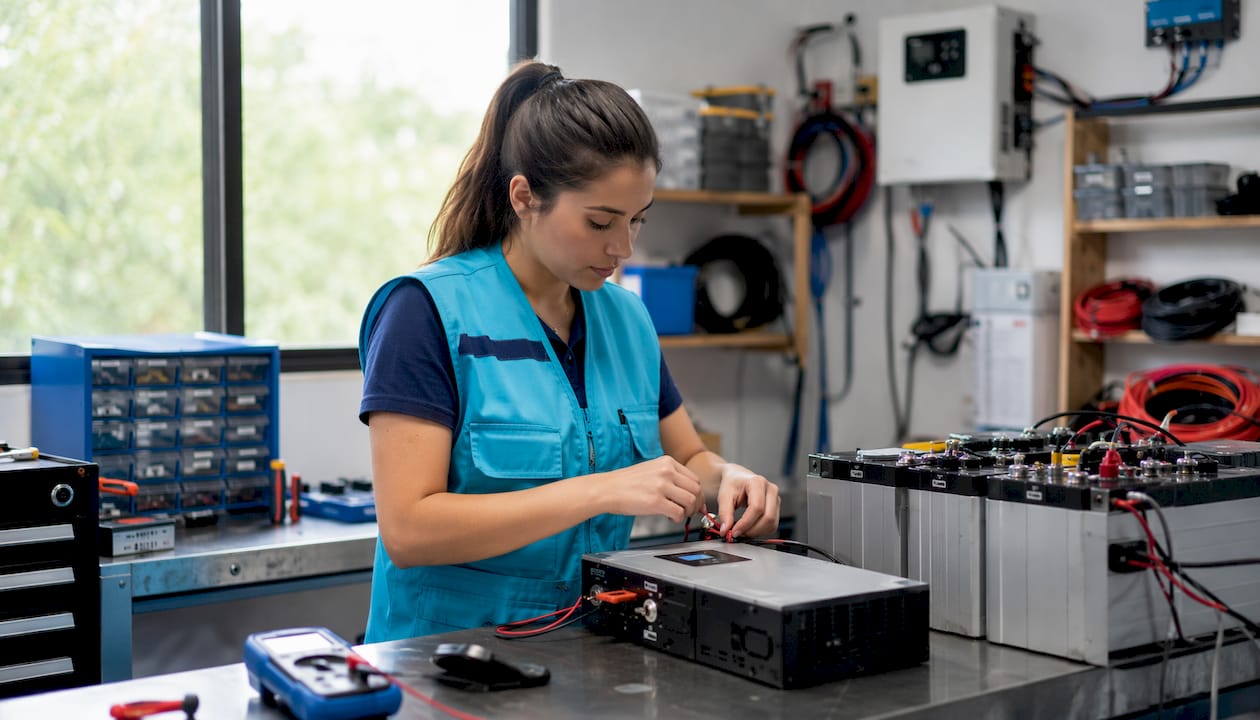
Solar panels capture sunlight and convert it to DC electricity. Typical US off-grid homes require 10–15 kW of solar array capacity, with a 0.75 derate factor applied to account for real-world losses like heat, wiring resistance, and soiling. That derate factor means a 10 kW array realistically delivers about 7.5 kW of usable power.
Battery bank stores energy for nights and cloudy days. The industry standard targets 3–5 days of autonomy at 80% depth of discharge (DoD) for LiFePO4 batteries. LiFePO4 is the preferred chemistry because it tolerates deep cycling without significant capacity loss. Typical whole-home systems need 50–80 kWh of storage to cover those autonomy days reliably.
Charge controller sits between your panels and battery bank. MPPT charge controllers harvest 15–25% more energy than older PWM models. That efficiency gain is significant when your system depends entirely on what the panels produce.
Inverter converts DC battery power to the AC power your appliances use. Size your inverter at 1.2 times your peak continuous load, with a surge rating up to 2 times that continuous figure. A well pump or refrigerator compressor draws a large surge current at startup, so the surge rating protects your inverter from tripping or failing.
Wiring, fuses, and disconnects are the safety layer of the system. Use the correct wire gauge for each circuit’s current, and fuse every circuit at 125% of its expected maximum current. Undersized wire or an incorrectly rated fuse is a fire hazard, not just a performance issue.
| Component | Sizing rule | Common choice |
|---|---|---|
| Solar panels | Array kW ÷ 0.75 derate | Monocrystalline, 400W+ modules |
| Battery bank | 3–5 days autonomy at 80% DoD | LiFePO4, 50–80 kWh for whole home |
| Charge controller | Match array voltage and current | MPPT, sized to panel string output |
| Inverter | 1.2× peak load, 2× surge rating | Pure sine wave, 5–15 kW |
| Fuses | 125% of circuit max current | Class T or ANL fuse holders |
Pro Tip: Never buy your inverter before you know your peak simultaneous load. Add up every appliance that could run at the same time, not just the largest single device.
For a deeper look at battery sizing math, the whole-home battery sizing guide from Chargeprodirect walks through the 2026 standards in detail.
The installation sequence is not optional. Connecting components in the wrong order can destroy your charge controller instantly.
Mount your battery bank. Place batteries in a ventilated, temperature-stable location. Connect cells or modules in the correct series or parallel configuration to reach your target voltage (typically 48V for whole-home systems). Install the main battery fuse immediately at the positive terminal.
Connect the battery bank to the charge controller. Batteries must connect to the charge controller first, before any panels are wired in. Batteries suppress voltage spikes that would otherwise damage the controller’s internal circuitry. This step is non-negotiable.
Wire the inverter to the battery bank. Connect the inverter directly to the battery terminals with appropriately sized cable and its own fuse. Keep these cables as short as possible to minimize resistance and voltage drop.
Mount and wire the solar panels. Secure panels to your roof or ground mount using rated racking hardware. Wire panels in series to increase voltage, in parallel to increase current, or in a series-parallel combination to match your charge controller’s input specifications. Ground the array frame to a dedicated grounding rod.
Connect the solar array to the charge controller. With the charge controller already powered by the battery bank, connect the panel strings. The controller will begin regulating charge immediately.
Install disconnect switches. Place a DC disconnect between the panels and controller, and another between the battery and inverter. These let you safely isolate any section of the system for maintenance.
Test before connecting AC loads. Check battery voltage, verify the charge controller is reading panel input, and confirm the inverter outputs correct AC voltage with a multimeter before plugging in any appliances.
Final AC panel connection requires a licensed electrician in most US jurisdictions. Connecting your inverter output to a home’s main breaker panel involves live AC wiring and local permit requirements. A licensed electrician handles this final step safely and keeps your installation code-compliant. Skipping permits can result in forced system disassembly even on a DIY build.
Pro Tip: Label every wire and fuse during installation. A clear label on each connection saves hours of troubleshooting later and makes future maintenance straightforward.
Most off-grid system failures trace back to a small set of avoidable errors. Knowing them before you build saves money and frustration.
Maintenance keeps a working system reliable. Check battery state of charge monthly. Inspect wire connections for corrosion every six months. Clean panel surfaces seasonally to maintain output. Review your charge controller’s logs to catch any charging irregularities early.
Pro Tip: Keep a simple maintenance log with dates and readings. A pattern of declining battery capacity or lower-than-expected panel output tells you exactly when to act before a failure occurs.
Getting the setup right the first time has a direct financial payoff. DIY off-grid systems range from $500–$800 for a basic starter kit to $8,000–$35,000 for a full whole-home setup in components alone. Professional installation pushes that range to $18,000–$70,000. The gap between DIY and professional cost is significant, which is why correct component selection and safe installation matter so much.
A correctly sized system lasts longer and requires fewer replacements. Oversized inverters idle inefficiently. Undersized battery banks cycle too deeply, shortening their lifespan. The solar panel guide for homeowners from Chargeprodirect covers panel selection in detail for 2026 standards.
| Setup type | Estimated component cost | Professional install cost |
|---|---|---|
| Starter kit (small cabin) | $500–$800 | Not typically applicable |
| Whole-home DIY system | $8,000–$35,000 | $18,000–$70,000 |
Energy independence means your power bill drops to near zero for covered loads. A properly sized system with 3–5 days of battery autonomy handles most US weather patterns without grid backup. That reliability only comes from following the correct design flow: load calculation first, then storage sizing, then panel and inverter sizing.
A successful off-grid solar installation depends on accurate load calculation, correct component sizing, and strict wiring sequence, in that order.
| Point | Details |
|---|---|
| Load calculation comes first | List every device’s wattage and daily hours before buying any component. |
| Size for your worst month | Use your location’s lowest monthly peak sun hours, not the annual average. |
| Battery bank drives reliability | Target 3–5 days of autonomy at 80% DoD with LiFePO4 chemistry. |
| Wiring order prevents damage | Connect battery to charge controller before connecting solar panels. |
| Permits protect your investment | Final AC wiring and local code compliance require a licensed electrician. |
One of the most expensive mistakes homeowners make is buying panels first. It feels logical. Panels are the visible, exciting part of the system. But the design flow is linear for a reason: load calculation drives storage sizing, and storage sizing drives panel count. Starting with panels and working backward almost always produces an undersized battery bank.
Another common pattern is optimism about sun hours. People size their system for the sunny months they experience most, then wonder why their batteries are dead by 9 PM in january. Worst-month sizing feels conservative until the first winter proves it right.
Cost versus reliability is a real tension. Cutting battery capacity to save $2,000 upfront often means replacing the bank years earlier than necessary. LiFePO4 batteries tolerate deep cycling, but they still degrade faster when regularly pushed below 20% charge. Spending correctly on storage the first time is cheaper over a 10-year horizon.
Our strongest advice: treat the permit and electrician requirement for AC panel connection as a feature, not a burden. A licensed sign-off protects your homeowner’s insurance, your resale value, and your family. No DIY solar system is worth cutting that corner.
Planning your system is one thing. Having the right hardware ready to install is another.
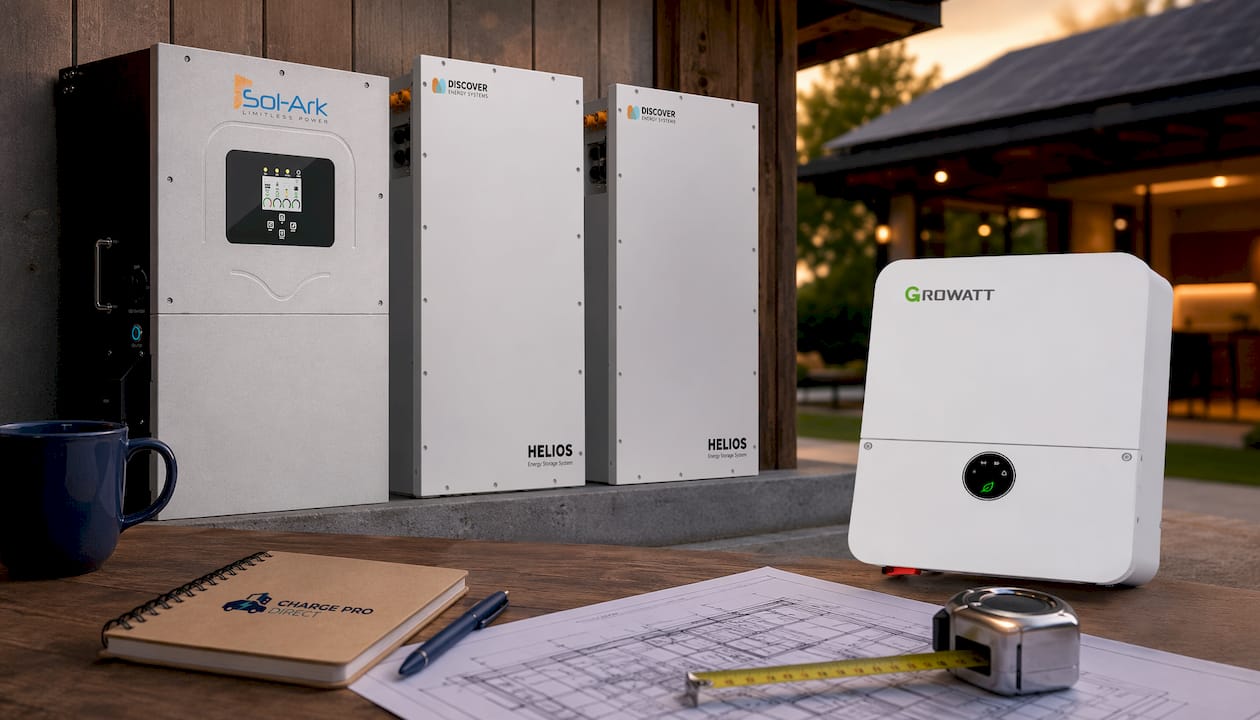
Chargeprodirect offers the Sol-Ark 15K-2P with Discover Helios 16kWh battery bundle, a pre-matched whole-home backup package built for DIY installers who want reliable, high-capacity power without guessing at compatibility. For larger homes or longer autonomy needs, the Sol-Ark 15K with 32kWh storage doubles the battery capacity in a single bundle. Product pages list compatibility details, and our Build Your System guide helps you size the system so you connect the right components in the right order from day one.
The first step is calculating your daily energy load in watt-hours. Every other component, including battery bank, panels, and inverter, is sized from that number.
The industry standard targets 3–5 days of autonomy at 80% depth of discharge for LiFePO4 batteries. This covers most multi-day cloudy periods in US climates.
Most of the DC wiring, mounting, and component connections are DIY-friendly with proper planning. The final AC panel connection requires a licensed electrician in most US jurisdictions for safety and code compliance.
Typical US off-grid homes require a 10–15 kW solar array, applying a 0.75 derate factor for real-world losses. Your specific load calculation determines the exact size.
DIY component costs range from $500–$800 for a basic starter kit to $8,000–$35,000 for a full whole-home system. Professional installation typically runs $18,000–$70,000 for the same scope.