
Need Installation?
Book a licensed install
Book a licensed EV charger install

Size your panel to your power station’s max solar input, not the other way around. For most stations in the 1,000 to 3,000 Wh range, a 200W portable panel is the practical starting point. It charges fast enough to matter on a sunny afternoon, folds down small enough to travel, and matches the solar input specs that most mid-size stations ship with.
Before you buy anything, run three checks. First, find your power station’s max solar input in watts and volts, usually printed on the DC port or listed in the manual. Second, confirm your panel’s Voc (open circuit voltage) sits inside that window. Third, check the connector. A mismatch on any of these three points is the most common reason new solar setups fail to charge at all.
Quick fact: adding a 200W panel to an existing power station often extends usable runtime enough that you can skip the far more expensive upgrade to a bigger battery.
Matching a panel’s voltage and connector to your power station’s rated solar input determines whether your setup charges reliably, and a 200W panel remains the most practical starting point for most 1,000 to 3,000 Wh stations.
| Point | Details |
|---|---|
| Check voltage before buying | Confirm your panel’s Voc fits inside your power station’s max solar input voltage window. |
| Start with 200W for mid-size stations | A 200W panel balances recharge speed and portability for most 1,000 to 2,000 Wh stations. |
| Use MPPT-capable controllers | MPPT controllers recover more usable power than older PWM designs, especially in partial sun. |
| Add a panel before adding a battery | A second 200W panel often extends off-grid days more cheaply than a larger power station. |
| Check the fit before buying | Use the checklist in this guide to match panels, stations, and batteries correctly the first time. |
Solar panels for power station setups only work reliably when three numbers line up: voltage, current, and connector type. Get any one wrong and you either get no charge, a slow trickle, or in rare cases, damage to the charge controller. Here’s how to check each one without guesswork.
Every power station lists a maximum solar input somewhere in its spec sheet, usually expressed as a voltage range (like “11 to 60V”) and a max wattage (like “200W max”). This number is the ceiling, not a target. A station rated for 200W max solar input will not charge any faster if you plug in a 400W panel; it simply caps the extra capacity and wastes your money.
Look for two figures specifically:
Some manufacturers list these on a rear label; others bury them in the PDF manual. If you cannot find them, contact the manufacturer directly before buying panels rather than guessing.
A panel’s spec sheet shows two voltage numbers: Vmp (voltage at maximum power, the real-world operating voltage) and Voc (open circuit voltage, the voltage when nothing is connected). Voc is always higher than Vmp, and it is the number that matters for safety, because that is what the panel can output in bright, cold conditions before a load is attached.
If your power station’s max input voltage is 60V and your panel’s Voc is 42V, you have headroom. If your panel’s Voc is 62V, you are over the limit even though the panel might seem like a reasonable match on wattage alone. This is the single most overlooked spec in casual solar shopping.
Most modern power stations have built in protection circuits that simply clip excess input rather than letting it fry the controller, but that protection varies by manufacturer and is not something you want to test on purpose. Exceeding the rated watts wastes panel capacity; exceeding the rated voltage risks tripping a protection fault or, in older or cheaper units, actual component damage.
Pro Tip: Write down your power station’s exact max solar input voltage and wattage on a sticky note inside the case. You will reference it every time you shop for a new panel, and it saves you from re-digging through the manual months later.
Most portable panels ship with an 8mm barrel connector or MC4 connectors, and stations vary on which they accept natively. An adapter cable bridges the gap, but a cheap adapter with reversed polarity can cause a dead short. Buy adapters from a source that states polarity explicitly, and inspect the pinout before your first connection.
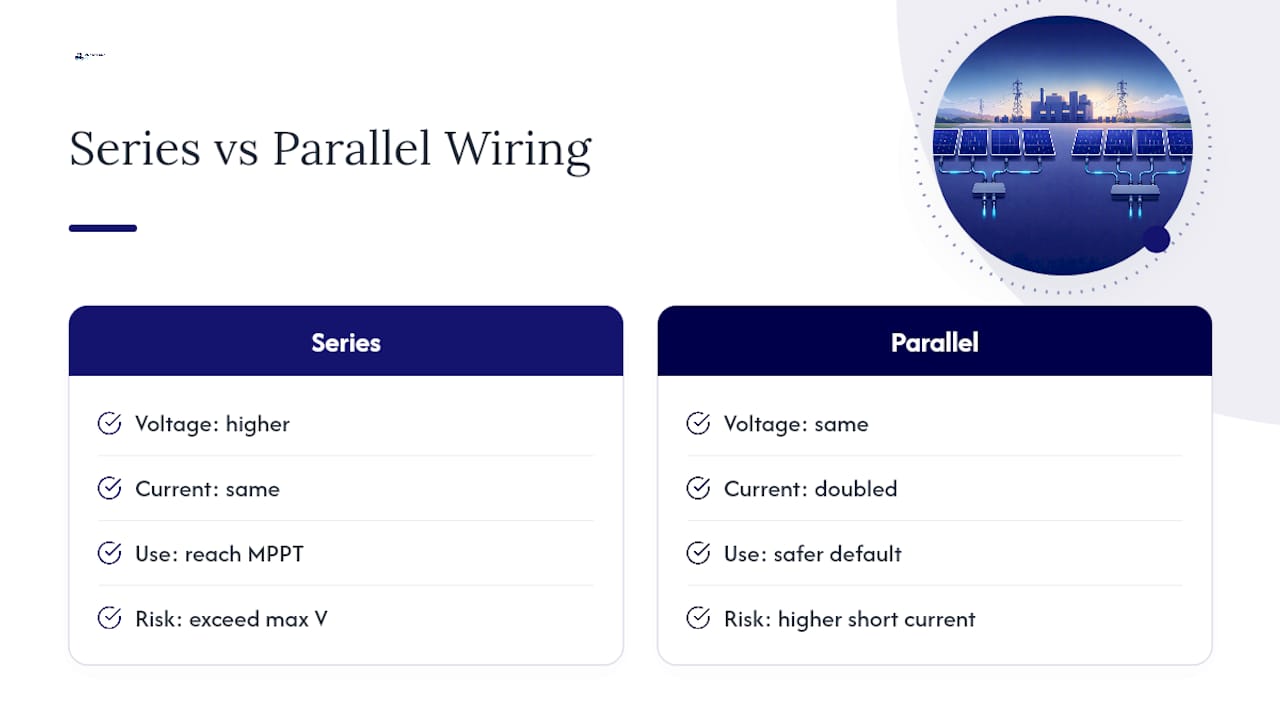
If you are running two panels together, you have two wiring choices: series (which adds voltages together) or parallel (which adds currents together). Series wiring pushes voltage higher, which is useful for reaching a station’s MPPT sweet spot on a longer cable run, but it also raises the risk of exceeding your station’s max input voltage if you are not doing the math. Parallel wiring keeps voltage the same as a single panel while doubling current, which is often the safer default for two identical panels feeding one input.
Any power station worth buying for solar charging should use an MPPT (maximum power point tracking) controller rather than the older, less efficient PWM type. MPPT controllers adjust to the panel’s actual voltage and current in real time, which typically recovers noticeably more usable power, especially on cooler or partly cloudy days. If a power station’s spec sheet does not mention MPPT anywhere, assume it uses the cheaper PWM approach and budget for slower recharge times.
Here is what that looks like for common power station sizes.
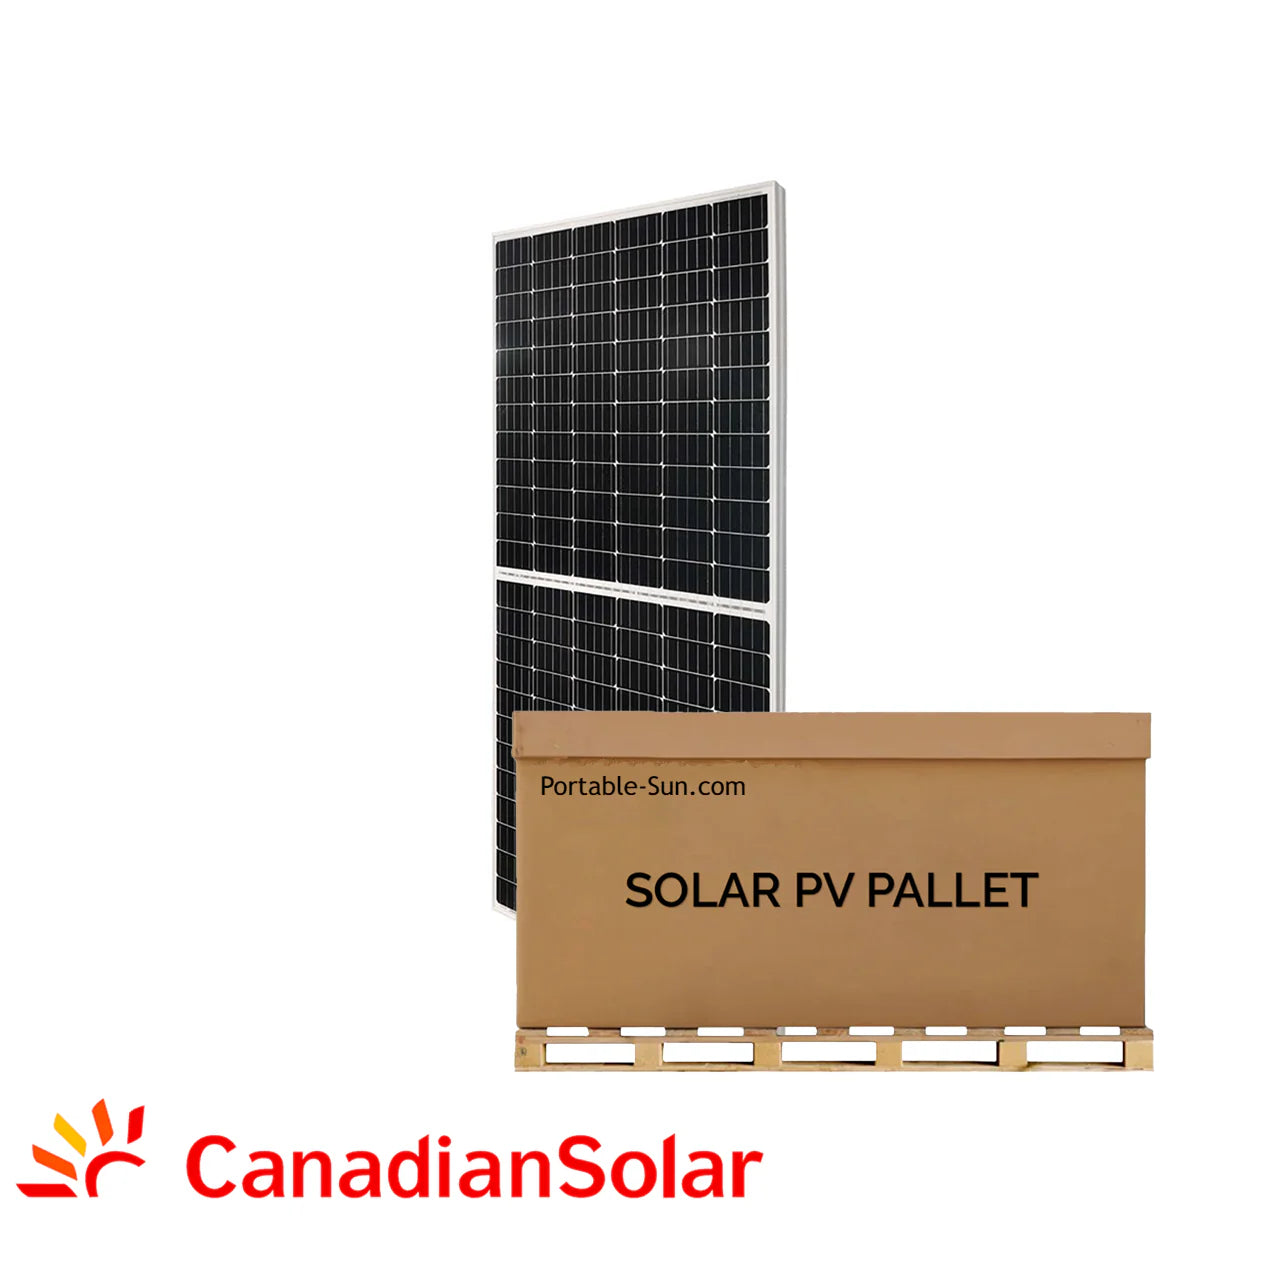
500 Wh station, 100W panel: 100W × 5 sun hours × 0.75 efficiency = roughly 375 Wh recovered per day. That refills a fully drained 500 Wh station in a bit over a day of good sun, which is fine for keeping phones and small devices topped off on a weekend trip.
1,000 Wh station, 200W panel: 200W × 5 sun hours × 0.75 = about 750 Wh per day. A full recharge from empty takes roughly a day and a half of decent sun, and this pairing is the most common recommendation for general power station buyers because it balances speed against panel size and cost.
2,000 Wh station, 200W panel: the same 750 Wh daily recovery now takes closer to three days to fully refill from zero. Bump to a 400W panel and you are back to roughly a day and a half, which matters if you are relying on solar during an extended outage rather than casual weekend refills.
4,000 Wh station, 400W panel (or two 200W panels in parallel): 400W × 5 sun hours × 0.75 = about 1,500 Wh per day, meaning a full recharge from empty takes closer to three days. For multi day blackout prep, this is where many buyers add a second panel rather than jumping to an enormous, expensive station.
A few derating factors move that efficiency number around more than most buyers expect:
Quick fact: buyers comparing options often find that adding a second 200W panel is a cheaper way to add usable off-grid days than trading up to a much larger power station.
For multi-day trips or blackout prep, double that ratio, or plan on two panels so a single cloudy day does not leave you stranded.
Cell type and efficiency percentage decide how much power you get per square foot, and for portable panels, that number matters more than most buyers assume. Current portable panels rely almost entirely on monocrystalline silicon, with conversion efficiencies typically landing between 20% and 23.5%. That range represents a real jump over older polycrystalline designs, which is why monocrystalline has become the default choice across nearly every portable panel on the market.
Here is how the three common form factors trade off against each other:
If your setup has plenty of open ground or flat space to lay panels flat (a campsite, a tailgate, a patch of yard during a blackout), a foldable rigid panel usually wins on cost per watt and durability. If you are mounting permanently to a curved roof where a rigid panel simply will not fit, a flexible panel is the only realistic option, and the efficiency trade off is the price of that flexibility.
Surface area limits change the calculation entirely. On a small van roof or a compact rooftop rack, you physically cannot fit enough low-efficiency panel area to hit your wattage target, so a higher-efficiency monocrystalline panel becomes the only way to reach your target watts within the space you have. For ground-deployed camping setups with no space constraint, efficiency matters less than total watts and ease of setup.
Temperature deserves its own mention here because it is easy to overlook. Every solar cell loses some output as it heats up, and portable panels sitting on dark asphalt or a black car roof on a summer afternoon can run 20 to 30 degrees hotter than ambient air. Rigid panels with a kickstand or grommet ties that lift them off the ground handle this noticeably better than flexible panels glued flat to a surface.
Getting power from the panel to the station reliably comes down to matching connectors correctly and keeping voltage drop low over the cable run. Here is the practical map of what pairs with what.
When you use an adapter, always verify polarity before your first connection, ideally with a multimeter if you have one. A reversed polarity adapter is a common cause of a solar setup that “just doesn’t charge,” and in worse cases it can trip a fault or damage a port.
Cable gauge matters more than most buyers expect over longer runs. A thin, undersized cable run 25 feet or more from panel to station can lose a meaningful chunk of your generated power to resistance before it ever reaches the battery. As a rough guide, stick to 10 or 12 gauge cable for runs beyond 15 feet at typical portable panel currents, and keep runs as short as practical.
Pro Tip: Coil excess cable loosely rather than tightly. A tightly wound coil traps heat in the wire under load, which increases resistance exactly when you need every watt.
A few safety notes worth building into habit: inline fuses protect against a short in your wiring from becoming a fire risk, waterproof seals on connectors matter if you are camping in anything but bone-dry conditions, and every mechanical connection point (panel legs, cable clips, adapter joints) should be checked periodically, since vibration from travel loosens connections over time.
How you plan to travel and set up your panel matters as much as its wattage rating. A backpacker hauling gear on foot has completely different priorities than someone parking an RV for a season.
Foldable panels remain the most popular choice for a reason: a 200W foldable panel typically folds down to roughly briefcase size, weighing somewhere in the 15 to 20 pound range, light enough to strap to a pack frame or toss in a trunk without a second thought. Rigid panels without a folding hinge are lighter per watt in raw terms but need a flat surface to lean against or a dedicated mounting rack, making them better suited to a fixed camp setup or RV roof than a backpacking trip.
Mounting options vary by use case. Kickstands built into foldable panels work fine on flat ground but struggle in wind. Grommet ties let you lash a panel to a roof rack or fence for a more secure setup. Permanent roof mounts, whether adhesive or bracket based, suit RVs and van conversions where the panel stays put for the long haul. Adhesive mounting works for flexible panels on a curved roof, but check the adhesive rating for your climate since extreme heat can soften some adhesives over time.
Durability specs worth checking before you buy include ETFE lamination (a more scratch and weather resistant surface coating than plain PET), an IP65 or better waterproof rating for the panel and its junction box, and a stated operating temperature range that covers your actual climate, not just a lab-ideal 77°F.
One underrated strategy: two smaller panels often beat one large panel for real-world flexibility. Two 100W panels give you redundancy if one gets damaged, let you split placement across two different sun angles as the day moves, and are individually easier to carry than a single bulky 200W unit.
Most people who feel disappointed by their solar setup are not dealing with a defective panel. They are dealing with one or more of five very common losses that show up in nearly every real-world install.
Angle mismatch costs you the most on a still, sunny day when you have simply propped the panel flat instead of tilting it. Panels perform best when pointed directly at the sun, and a flat lay can cost 20% or more of potential output depending on the sun’s position. Shading, even partial, from a tree branch, a tent pole, or your own shadow at the wrong moment, disproportionately drags down output because shaded cells act like a bottleneck for the whole panel. Heat reduces cell efficiency as temperatures climb, which is why panels often perform slightly worse at high noon in July than on a cool, clear morning with the same sun intensity. Soiling, dust, pollen, or road grime, builds up faster than most people expect on a panel left outside for days at a time. Cable and connector loss adds up over long runs or with undersized wire, as covered in the wiring section above.
The fix for most of these is straightforward and takes about two minutes: prop the panel at roughly the angle of your latitude relative to true south (or true north in the southern hemisphere), reposition it every hour or two if you can, and keep the surface wiped down with a soft cloth.
Combining panels changes the voltage and current profile your charge controller sees, and that shift can help or hurt depending on your station’s MPPT window. Adding panels in parallel keeps voltage steady while boosting current, which most MPPT controllers handle gracefully. Adding panels in series raises voltage, which can push you outside your station’s rated input if you are not careful, particularly with two high-Voc panels stacked together.
If your charging rate looks lower than expected, run through this order: check the app or display for actual current input watts versus rated capacity, inspect for shading you might have missed, verify the tilt angle, check every connector for a loose or corroded pin, and confirm you have not accidentally wired two panels in a configuration that exceeds your station’s voltage window.
Picking the right panel is only half the equation. Getting the power station, inverter, and battery sizing right the first time is where most DIY solar projects go sideways.
Our catalog covers everything from portable setups to whole-home backup. Getting the sizing right matters most when you are stepping up from a simple panel and power station combo into something more permanent.
The solar generators and off-grid power collection covers portable stations designed to pair cleanly with common panel wattages, while the portable power stations lineup gives you a place to compare capacity options side by side against the sizing math covered earlier in this guide. For readers thinking bigger than a weekend trip, Chargeprodirect also carries hardware for permanent installs, including the Growatt 3kW Stackable Off-Grid Inverter (SPF 3000TL LVM-48P) for parallel-ready off-grid setups, the Midnite Solar Rosie Inverter, a 7,000W American-made off-grid unit built for 48V split-phase systems, and the Growatt 10kW Hybrid Inverter (SPH 10000TL-HU-US) for hybrid grid-tie configurations.
For whole-home backup planning, the catalog includes the LG 16H Prime Battery (16kWh, 400V high voltage) and the Growatt SYN 200-XH-US, a 200A automatic transfer switch built for whole-home backup switching. Homeowners exploring EV charging alongside solar can also look at the EVIQO Level 2 EV Charger lineup, including the 48A hardwired model and the 40A NEMA 14-50 plug-in version, both built for non-Tesla EVs using the J1772 connector.
Portable solar panels generally run somewhere in a moderate range on a per-watt basis, with foldable and rigid monocrystalline panels typically pricing higher per watt than bare cell panels sold for permanent installs, largely due to the folding frame, kickstand, and weatherproofing that make them field-ready.
The real decision most buyers face is not which panel to buy, it’s whether to buy a bigger panel or a bigger battery. As covered earlier, reviewers consistently find that adding a second 200W panel to an existing station is a more economical path to longer usable off-grid days than trading up to a substantially larger power station. A bigger battery costs more per stored watt hour and does nothing to speed up your recharge; a second panel directly attacks the bottleneck most users actually hit, which is refill speed, not storage capacity.
The exception is genuinely low-sun scenarios: heavy overcast climates, deep forest camping, or short winter days. In those cases, no amount of extra panel wattage compensates for missing sun hours, and a larger battery that can coast through several sunless days becomes the smarter buy. Match the fix to the actual problem: slow recharge calls for more panel, running out of stored power between sun sessions calls for more battery.
Getting the setup right takes about five extra minutes and meaningfully changes your daily output. Start by choosing a location with a clear, unobstructed view of the sky for the hours you plan to charge, avoiding tree cover, building shadows, and vehicle overhangs that shift throughout the day.
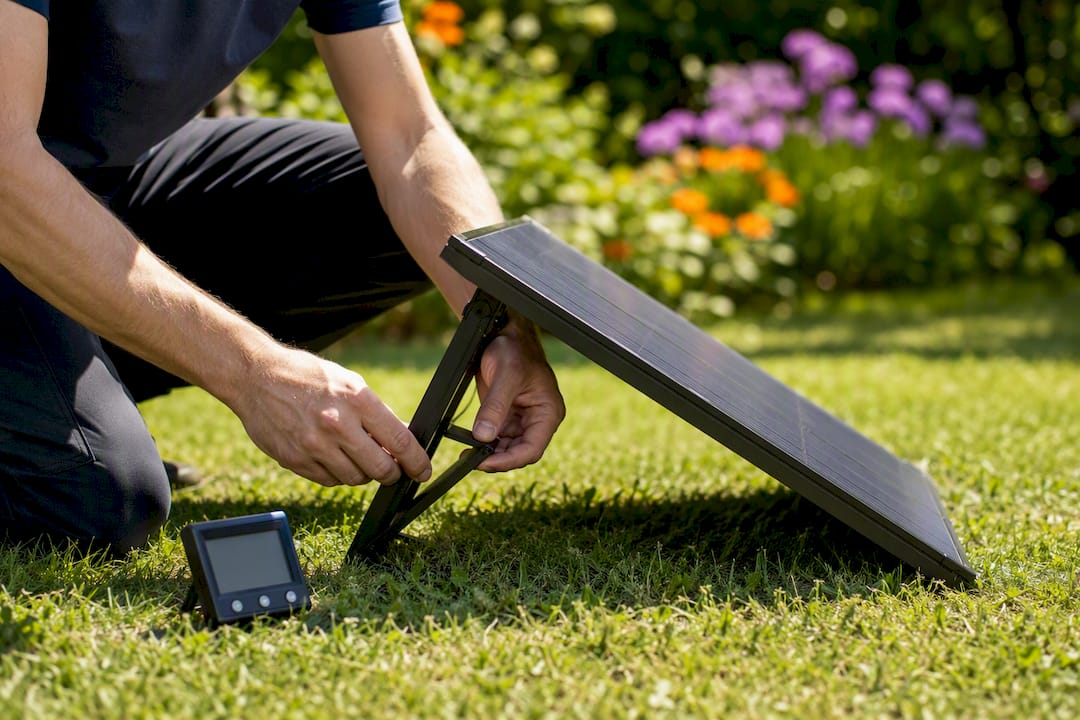
Angle the panel toward the sun rather than laying it flat on the ground. A rough tilt equal to your latitude, adjusted seasonally if you are staying put for more than a day, captures noticeably more energy than a flat lay. If your panel has a built-in kickstand, use it; the airflow underneath also helps keep the cells cooler, which protects output on hot days.
Connect the panel to the power station before you unfold it fully, then check the station’s display or app to confirm it registers an incoming charge. This catches connector or polarity issues before you have wasted an hour assuming everything is working.
Reposition the panel every hour or two if you’re actively monitoring the setup, since the sun’s angle shifts noticeably through the day, especially outside of the two or three hours around solar noon. For an unattended setup left running through the day, a fixed angle close to solar noon’s position is a reasonable compromise.
Solar panels have no moving parts, which makes them one of the lowest-maintenance pieces of gear in your kit, but a little upkeep protects both output and lifespan. Dust, pollen, and road grime reduce output more than most people realize, and a panel left in a truck bed or strapped to a roof for a season accumulates grime steadily even without visible dirt.
Clean panels with a soft cloth and plain water; avoid abrasive sponges or harsh chemical cleaners, which can degrade the anti-reflective coating over time. Wipe gently rather than scrubbing, and clean in the early morning or evening when the panel surface is cool, since cleaning a hot panel with water can occasionally cause thermal stress on the glass or ETFE coating.
Inspect connectors and cables periodically for corrosion, fraying, or loose pins, particularly if the panel travels frequently or lives outdoors year-round. A cracked junction box or a frayed cable is far more likely to cause a failure than the solar cells themselves degrading. Store foldable panels dry before packing them away for the season; trapped moisture inside the folded case invites mold on the fabric backing and can corrode connector pins over months of storage.
Solar panels are low-voltage, low-risk devices compared to grid-tied electrical work, but a few precautions matter when you are pairing panels with a power station’s charge input. Never connect or disconnect a panel while it is under a heavy load if you can avoid it; disconnecting live connections repeatedly wears down the connector’s contacts faster than intended.
Keep panels away from standing water even if they carry a solid IP rating; ratings describe resistance to splashing and rain, not submersion. Avoid stacking a hot panel against flammable material like dry grass or a tent wall during peak sun, since panel surfaces can reach temperatures well above ambient air on a clear day.
If you are wiring multiple panels yourself rather than buying a matched kit, double-check your series or parallel math against your station’s rated max input voltage before your first connection, not after. A fuse rated appropriately for your wiring gauge adds a layer of protection against a short circuit turning into a real hazard. And if you smell anything unusual, notice a connector running hot to the touch, or see any discoloration on a plug, disconnect immediately and inspect before reconnecting.
Anyone stepping up from a portable panel to a permanent or whole-home solar and battery installation should treat that wiring as a job for a licensed electrician, not a DIY weekend project, given the higher voltages and currents involved.
Warranty terms vary meaningfully across the portable solar panel market, and the fine print matters more than the headline number. Most reputable portable panels carry a product warranty covering manufacturing defects for a set number of years, separate from a longer performance warranty that guarantees the panel still produces a stated percentage of its rated output after a decade or more of use.
Check specifically whether the warranty covers the folding hinges and fabric casing on a foldable panel, since those mechanical parts fail more often in real-world use than the solar cells themselves. A panel with strong cell warranty language but no mention of the frame or connectors is only telling you half the story.
Support responsiveness matters just as much as the paper warranty. A manufacturer or retailer that answers a compatibility question before you buy, rather than only after something goes wrong, saves you from the mismatch problems covered throughout this guide. The compatibility checklist in this guide helps catch those issues at the point of purchase, before a wrong connector or voltage mismatch becomes a return shipment.
Rather than ranking specific brands, it helps to think in terms of panel categories matched to your station size and travel style, since the right choice depends more on your use case than on any single manufacturer’s marketing claims.
For stations under 500 Wh, a compact 100W foldable panel covers daily device charging without adding much bulk to a pack. For the common 1,000 to 2,000 Wh range, a 200W foldable monocrystalline panel remains the most frequently recommended pairing in independent testing, balancing recharge speed against size and weight. For 3,000 Wh and larger stations, or for multi-day blackout preparation, stepping up to a 400W panel or running two 200W panels in parallel gives you meaningfully faster recharge without the cost jump of an oversized single panel.
Rigid panels suit fixed installs like RV roofs or a stationary camp setup, while flexible panels are worth the efficiency trade off only when you genuinely need to conform to a curved surface. Whatever category fits your situation, the compatibility checklist covered earlier in this guide, matching voltage, connector type, and MPPT support, matters more to your actual charging experience than which brand name is printed on the panel.
Solar panels for power station buyers do best when they shop by specification match first and brand reputation second.
Most buying guides for this topic rank panels by brand and wattage alone, as if a bigger number always wins. That’s backwards. The reader’s actual problem is almost never “which panel has the highest wattage rating.” It’s “will this specific panel work with the specific power station I already own or am about to buy.”
The compatibility check matters more than the spec sheet comparison. A 400W panel that exceeds your station’s max input voltage is worse than useless, it’s a returned box and a wasted afternoon. Meanwhile a modest 100W panel correctly matched to a small station outperforms a mismatched premium panel every time.
The other overlooked point is that a second panel usually beats a bigger battery. Buyers fixate on capacity upgrades when their real bottleneck is recharge speed, and the math throughout this guide backs that up consistently. Prioritize the checklist first, the math second, and brand reputation last.
Chargeprodirect exists for the exact problem this guide walks through: making sure your panel, power station, and any battery backup actually work together before you spend the money, not after. Instead of guessing at compatibility from a spec sheet, you can compare options against your real energy needs, whether that’s a weekend camping setup or a whole-home backup plan.
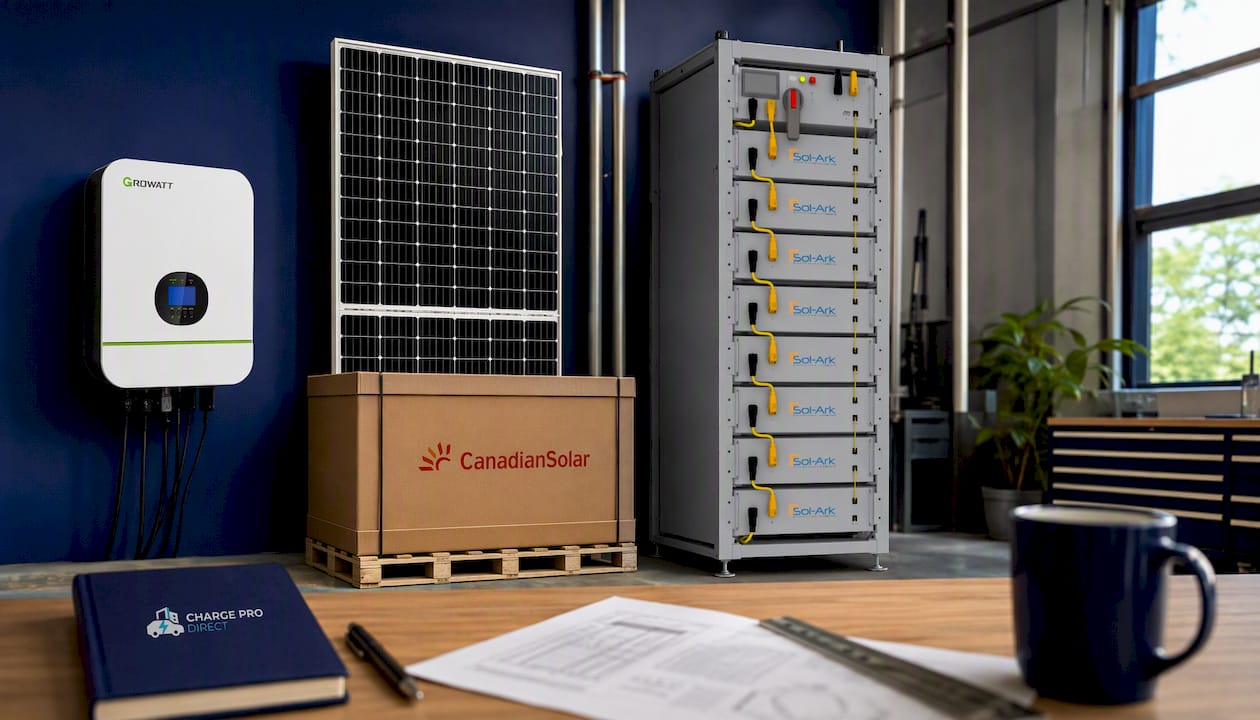
If you’re shopping for a portable setup, the solar generators and off-grid power collection is the place to compare stations against the wattage math covered in this guide. Readers planning something bigger, like whole-home backup or EV charging alongside solar, can explore the home battery backup lineup or check out the complete solar kits for a pre-matched panel and inverter combination that skips the compatibility guesswork entirely. Check your power station’s specs against the checklist above before you check out.
Yes. Most portable power stations include a dedicated solar input port designed to accept DC power directly from a compatible panel, provided the panel’s voltage and wattage fall within the station’s rated limits.
For most power stations in the 1,000 to 3,000 Wh range, a 200W foldable monocrystalline panel offers the best balance of recharge speed, portability, and cost, provided its voltage matches your station’s rated input.
A 400W panel can recharge a power station that in turn runs a small fridge, but the panel itself only generates power during sun hours; you need a power station with enough stored capacity to keep the fridge running overnight and through cloudy stretches.
Check three things: the panel’s Voc fits within your station’s max input voltage, the panel’s wattage doesn’t exceed the station’s max solar input, and the connector type matches or has a verified, correctly wired adapter.